
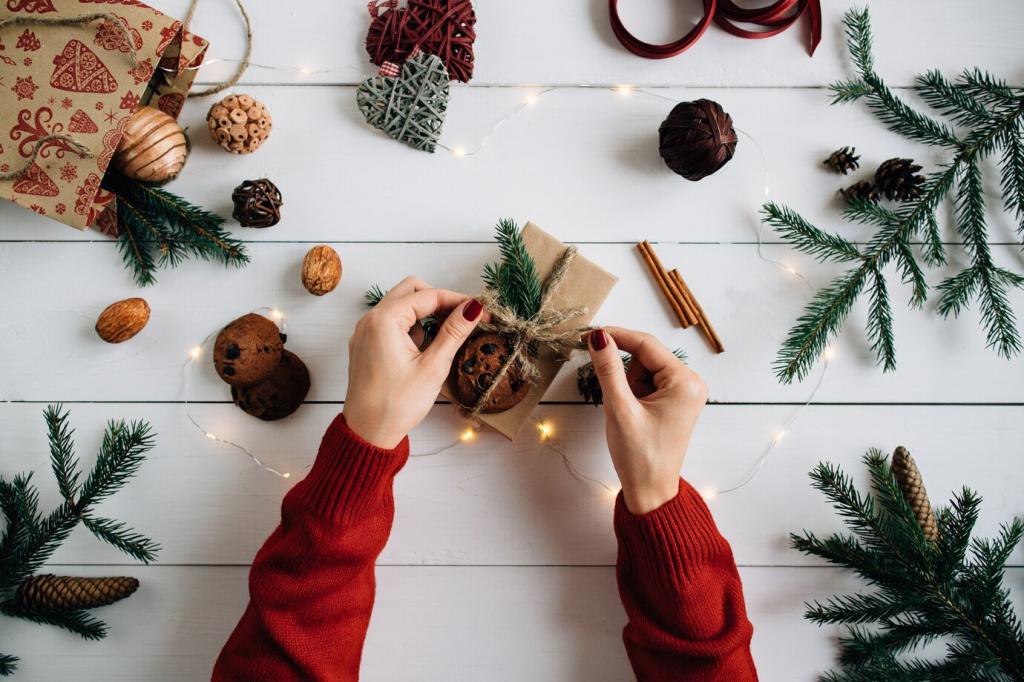

Gifting, Storage, and Seasonal Care
Nest ornaments in tissue within kraft boxes, tie with velvet ribbon, and add a tiny recipe or story card. Invite recipients to share photos of their trees so your craft travels joyfully further.
Gifting, Storage, and Seasonal Care
Use egg cartons for fragile shapes, wrap with acid-free tissue, and label boxes clearly. Store in a cool, dry space. Careful packing ensures your DIY Christmas decorations sparkle just as brightly next season.